One of the most daunting things about painting large is exactly that - it’s large! The paper feels endless, and the temptation to cover everything at once can be strong. But here’s a little secret: you don’t have to paint everything in one go. In fact, you’ll often get better results if you take it step by step.
Read MoreOne of the biggest advantages of using Procreate for planning is that it saves paper and materials. You can test countless colour combinations and compositions without committing them to paper until you’re sure.
For example, I created a digital illustration of a happy little girl, which I plan to recreate on a larger scale using watercolours. The app can help me decide on colours and compositions before I even touch my paper.
Read MoreSometimes when you're looking at a reference photo, it can be hard to figure out exactly what colour you're seeing. Is that shadow a grey? A purple? A cool green?
When I’m unsure, I open the image in Photoshop and use the eyedropper tool to grab the colour I’m trying to identify. Then I paste it onto a blank canvas so I can see it on its own, without being influenced by the surrounding colours. It really helps to isolate the colour and understand what’s actually there.
This is especially handy if you’re trying to figure out subtle tones in a shadow, fur, or petal - areas where the colours can be more complex than they first appear.
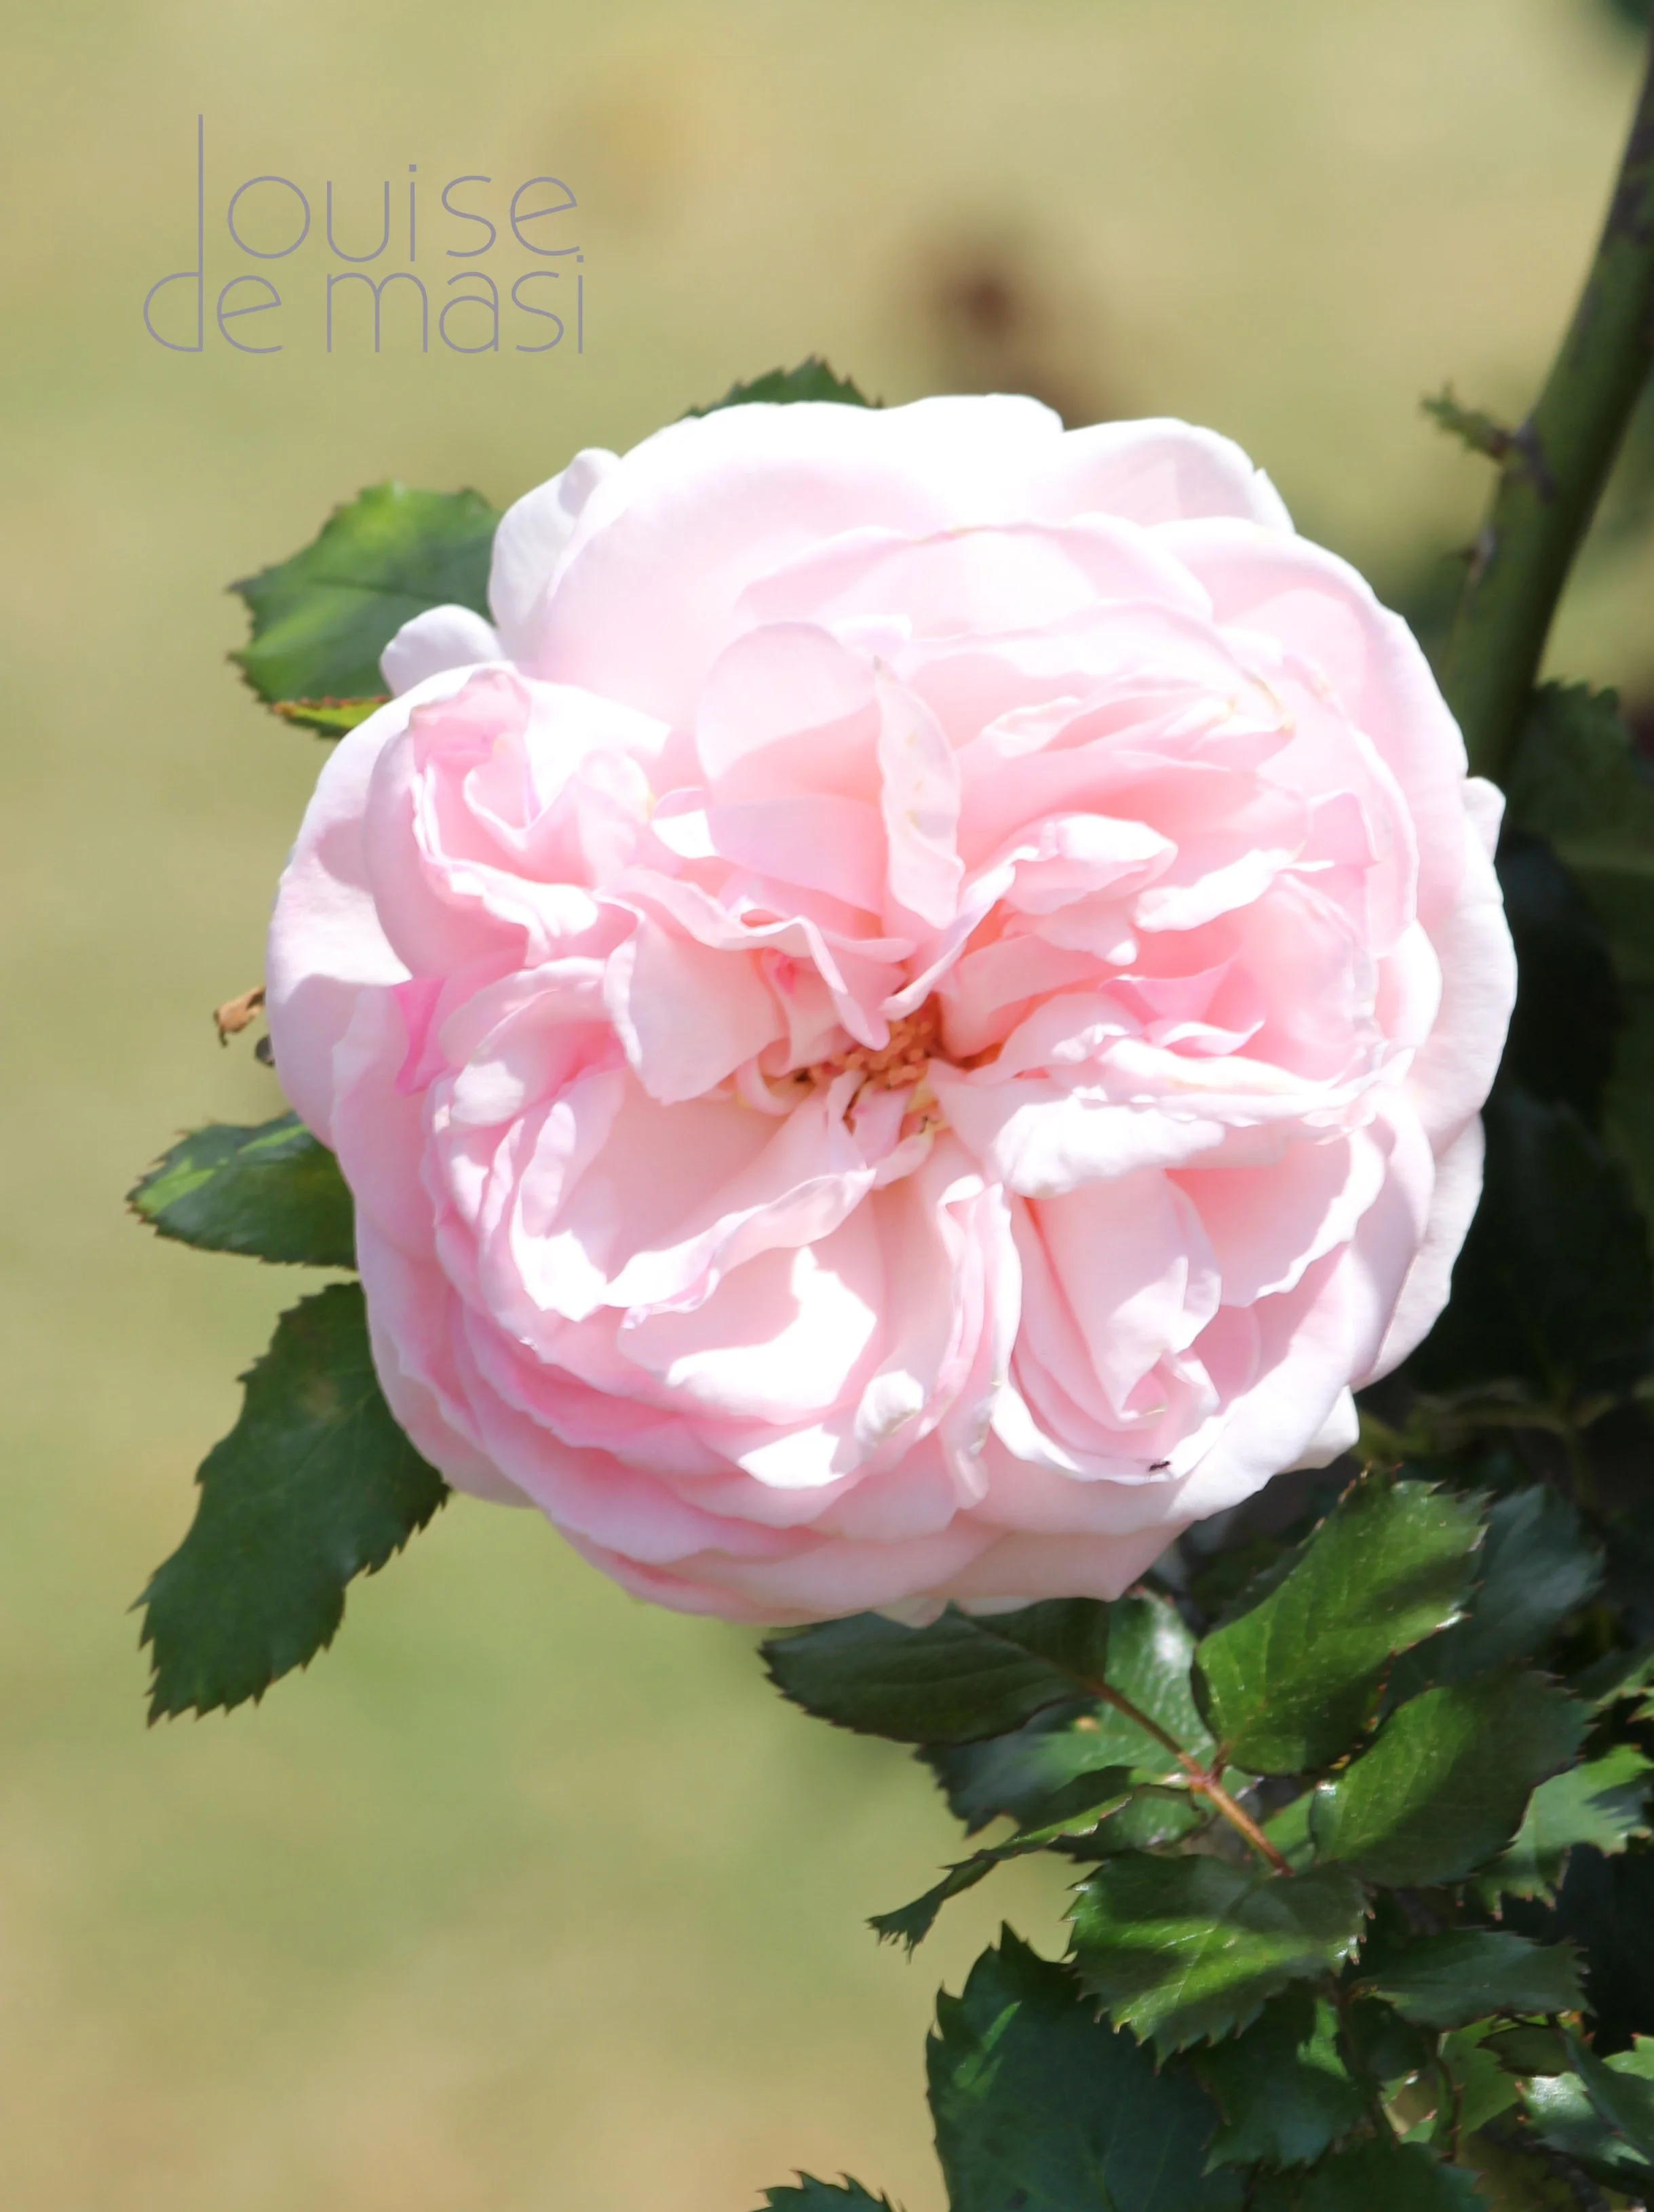
Read MoreA strong painting needs a focal point - something that draws the viewer’s eye and gives the composition a sense of purpose. So when you’re choosing a photo, ask yourself: What is the star of the show?
It might be the eye of an animal, the curve of a petal, or the way the light hits a glass bottle, that fills you with inspiration. But there has to be something that grabs you. If a photo is too evenly detailed across the whole image, it can be difficult to know what to focus on in your painting.
Personally, I often find myself drawn to reference photos that have a bit of drama - a close-up angle, an expressive pose, or a little sparkle of light that adds interest. Once I’ve identified that focal point, I build the rest of the surrounding composition, supporting it rather than competing with it.
Read MoreA big part of how your edges behave comes down to one simple but powerful thing: your water-to-paint ratio. If your brush is loaded with too much water, the pigment will pool and drift unpredictably. If it’s too dry, you’ll get scratchy, uneven marks.
The sweet spot lies in understanding the relationship between water and pigment - how they dance together on the page.
Read MoreOne of the biggest challenges in painting white objects is maintaining soft edges, especially in areas where light gradually transitions into shadow. To achieve this, I use a damp brush to soften the edges of my shadows immediately after applying them. This technique helps the transitions look seamless and natural.
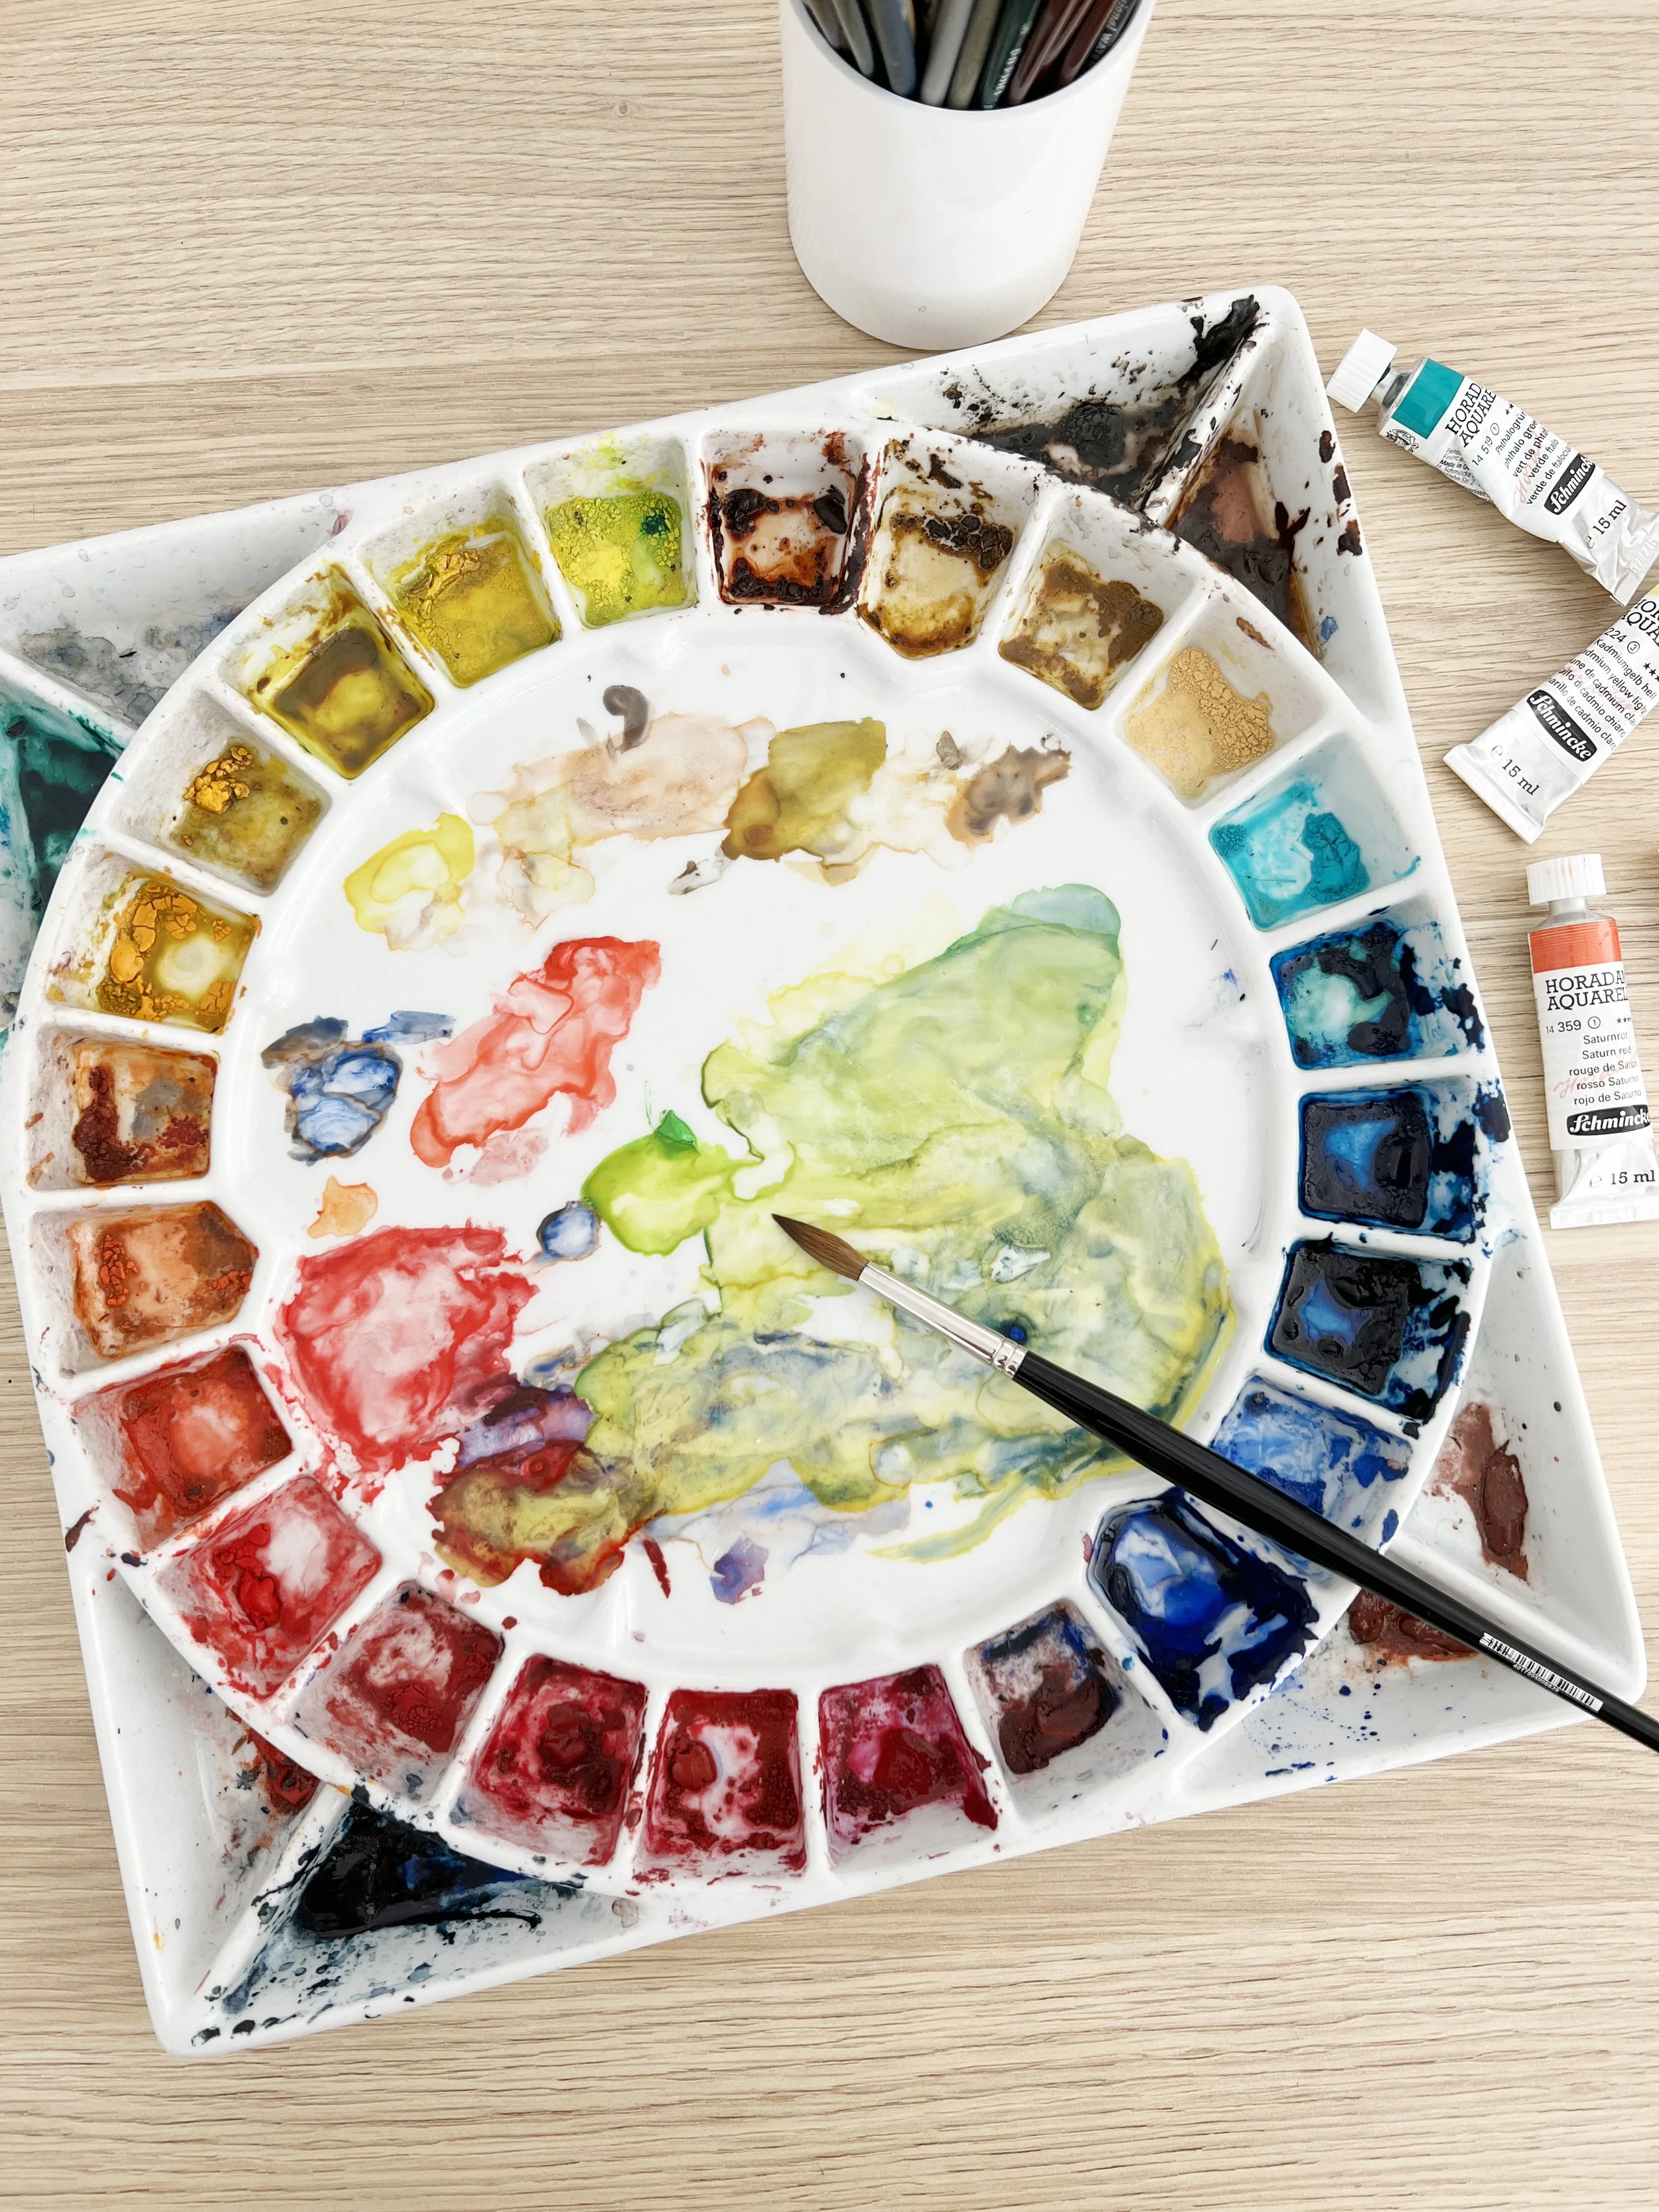
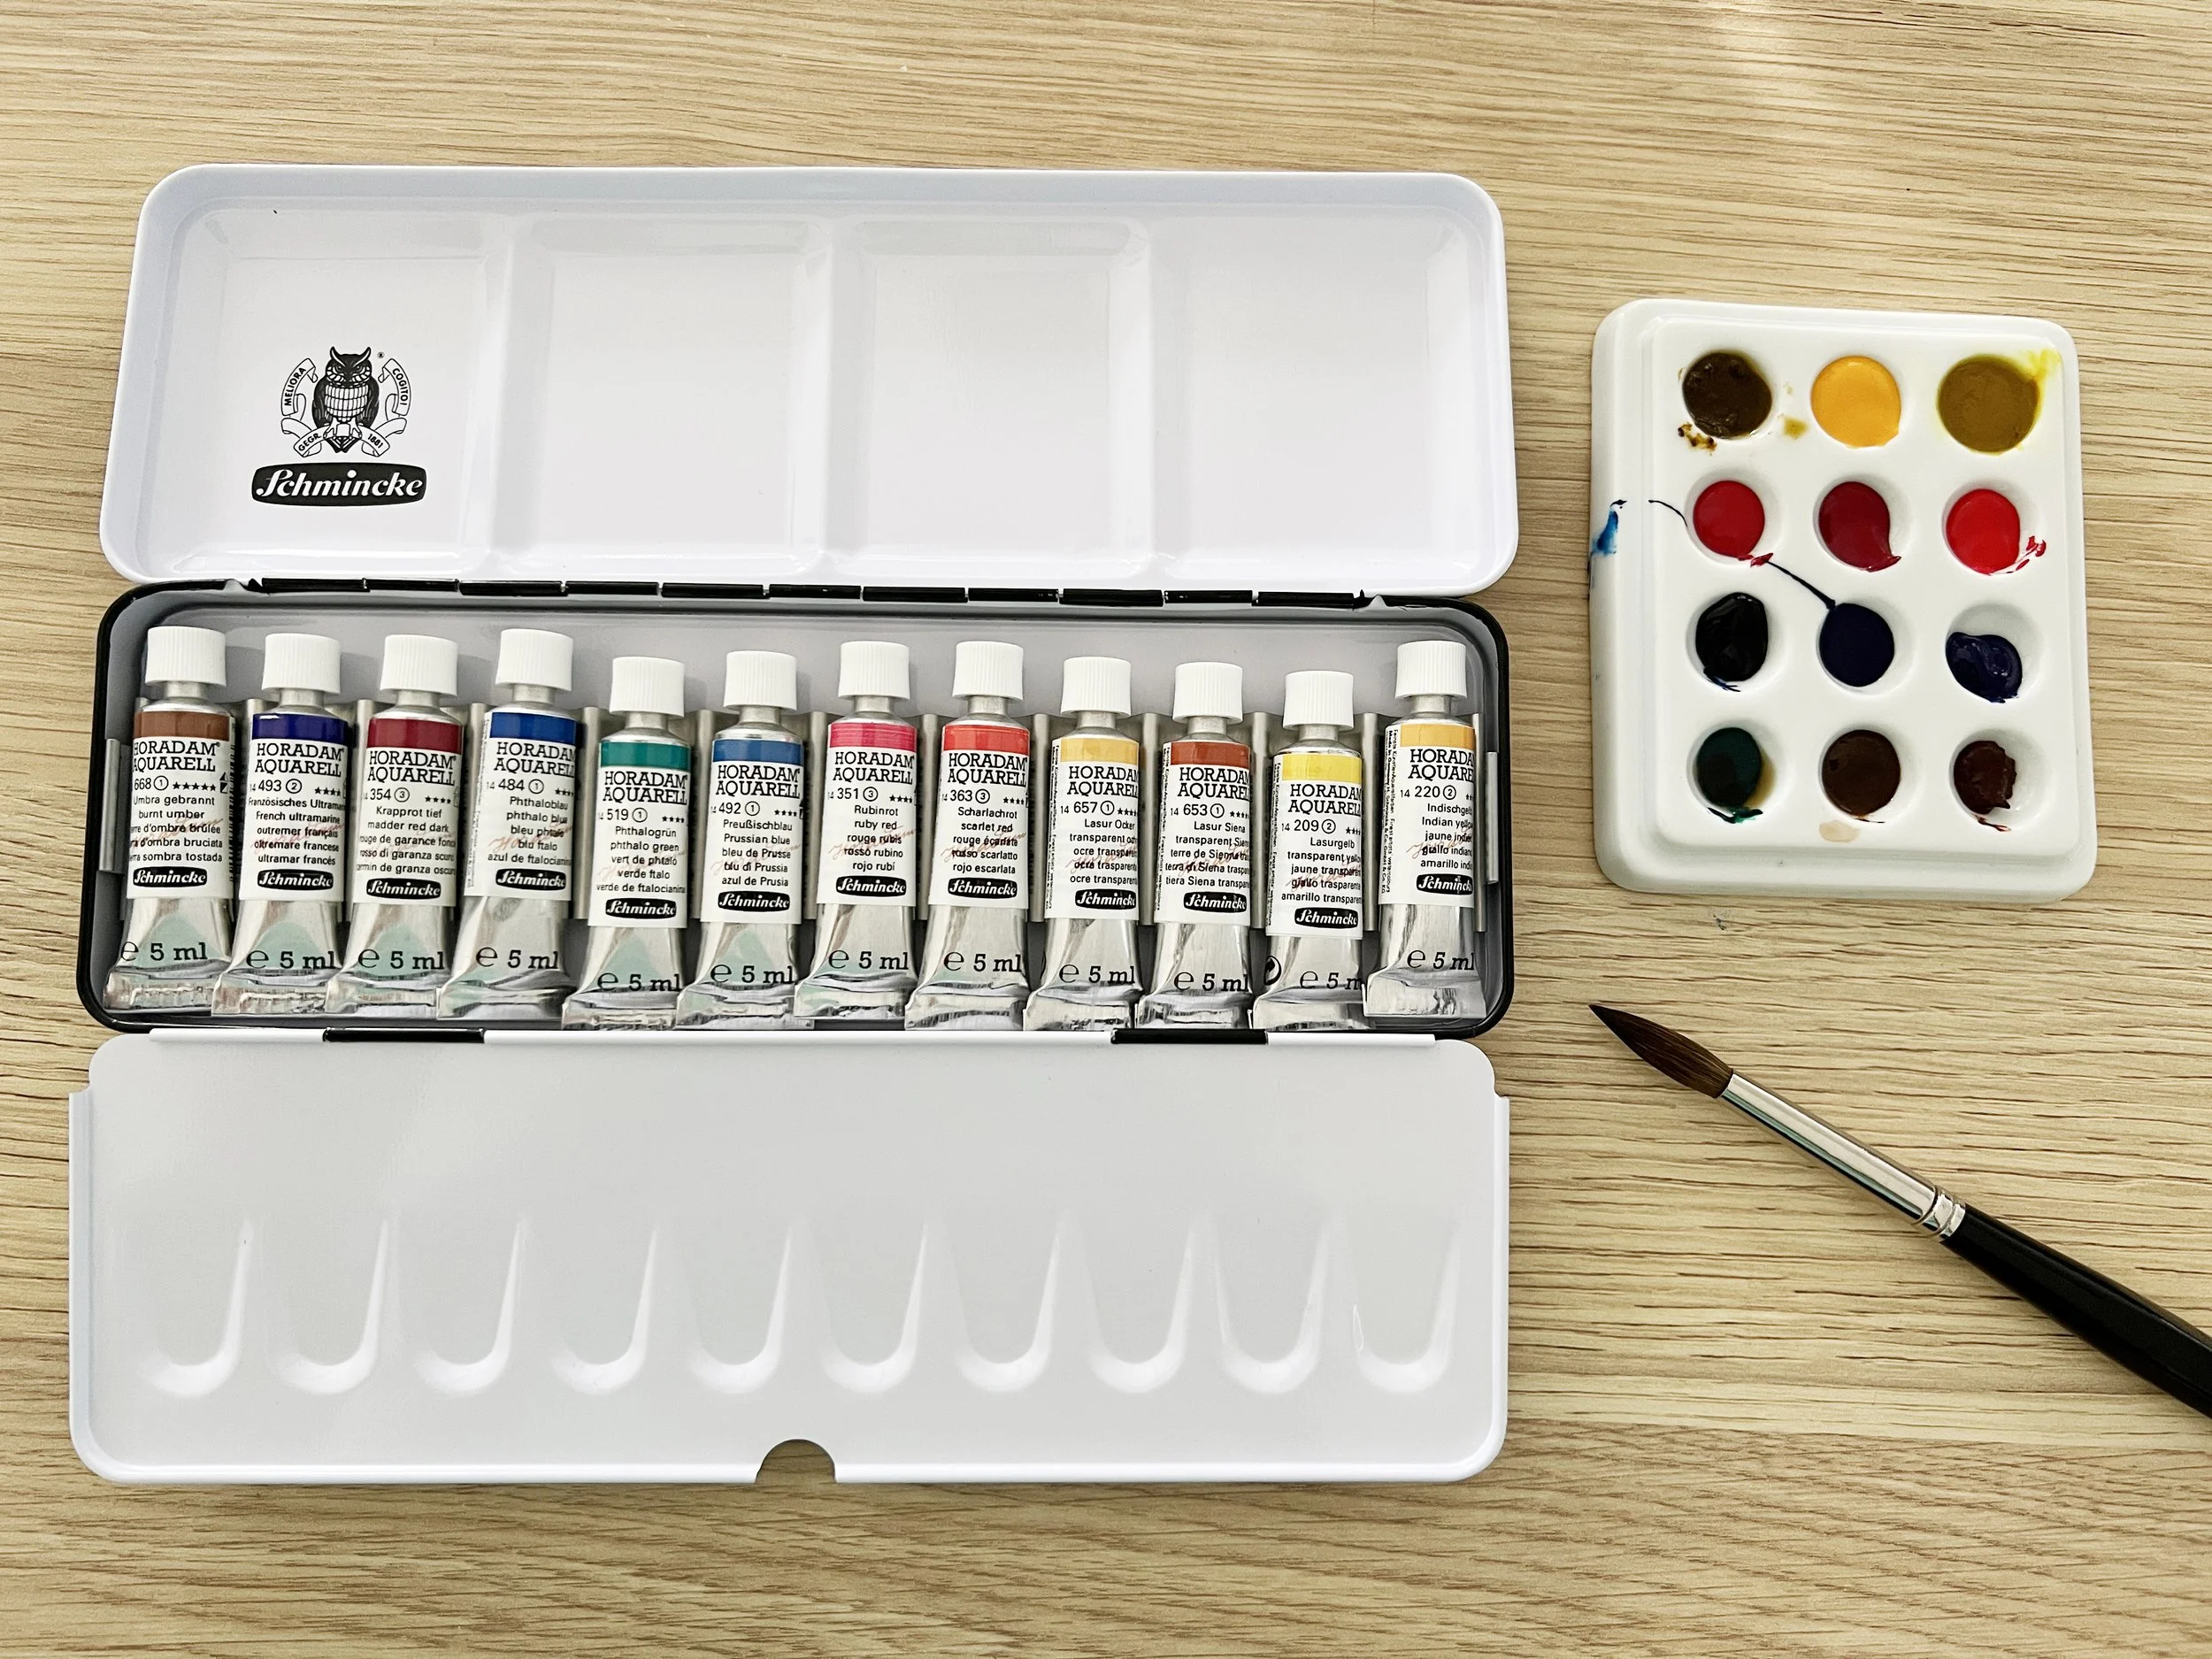
Read MoreThese days I almost always mix my own violets because it helps me stick to a limited palette, which naturally creates better colour harmony across the whole painting. I also paint wet on wet a lot, and there's something beautiful about watching the pigments separate on the paper when you mix violet yourself - especially with granulating colours like Ultramarine.
Read MoreI’ve learned the hard way that Louise’s first layers always look way darker in the video than they actually are. Determined to remember this, I mix a watery paint.
I’ve also learned that if your paper is too wet and your paint is too watery, the pigment will migrate to the edges, leaving behind an unwanted harsh line. So, keeping all this in mind, I put paint on the paper—only to immediately want to quit.
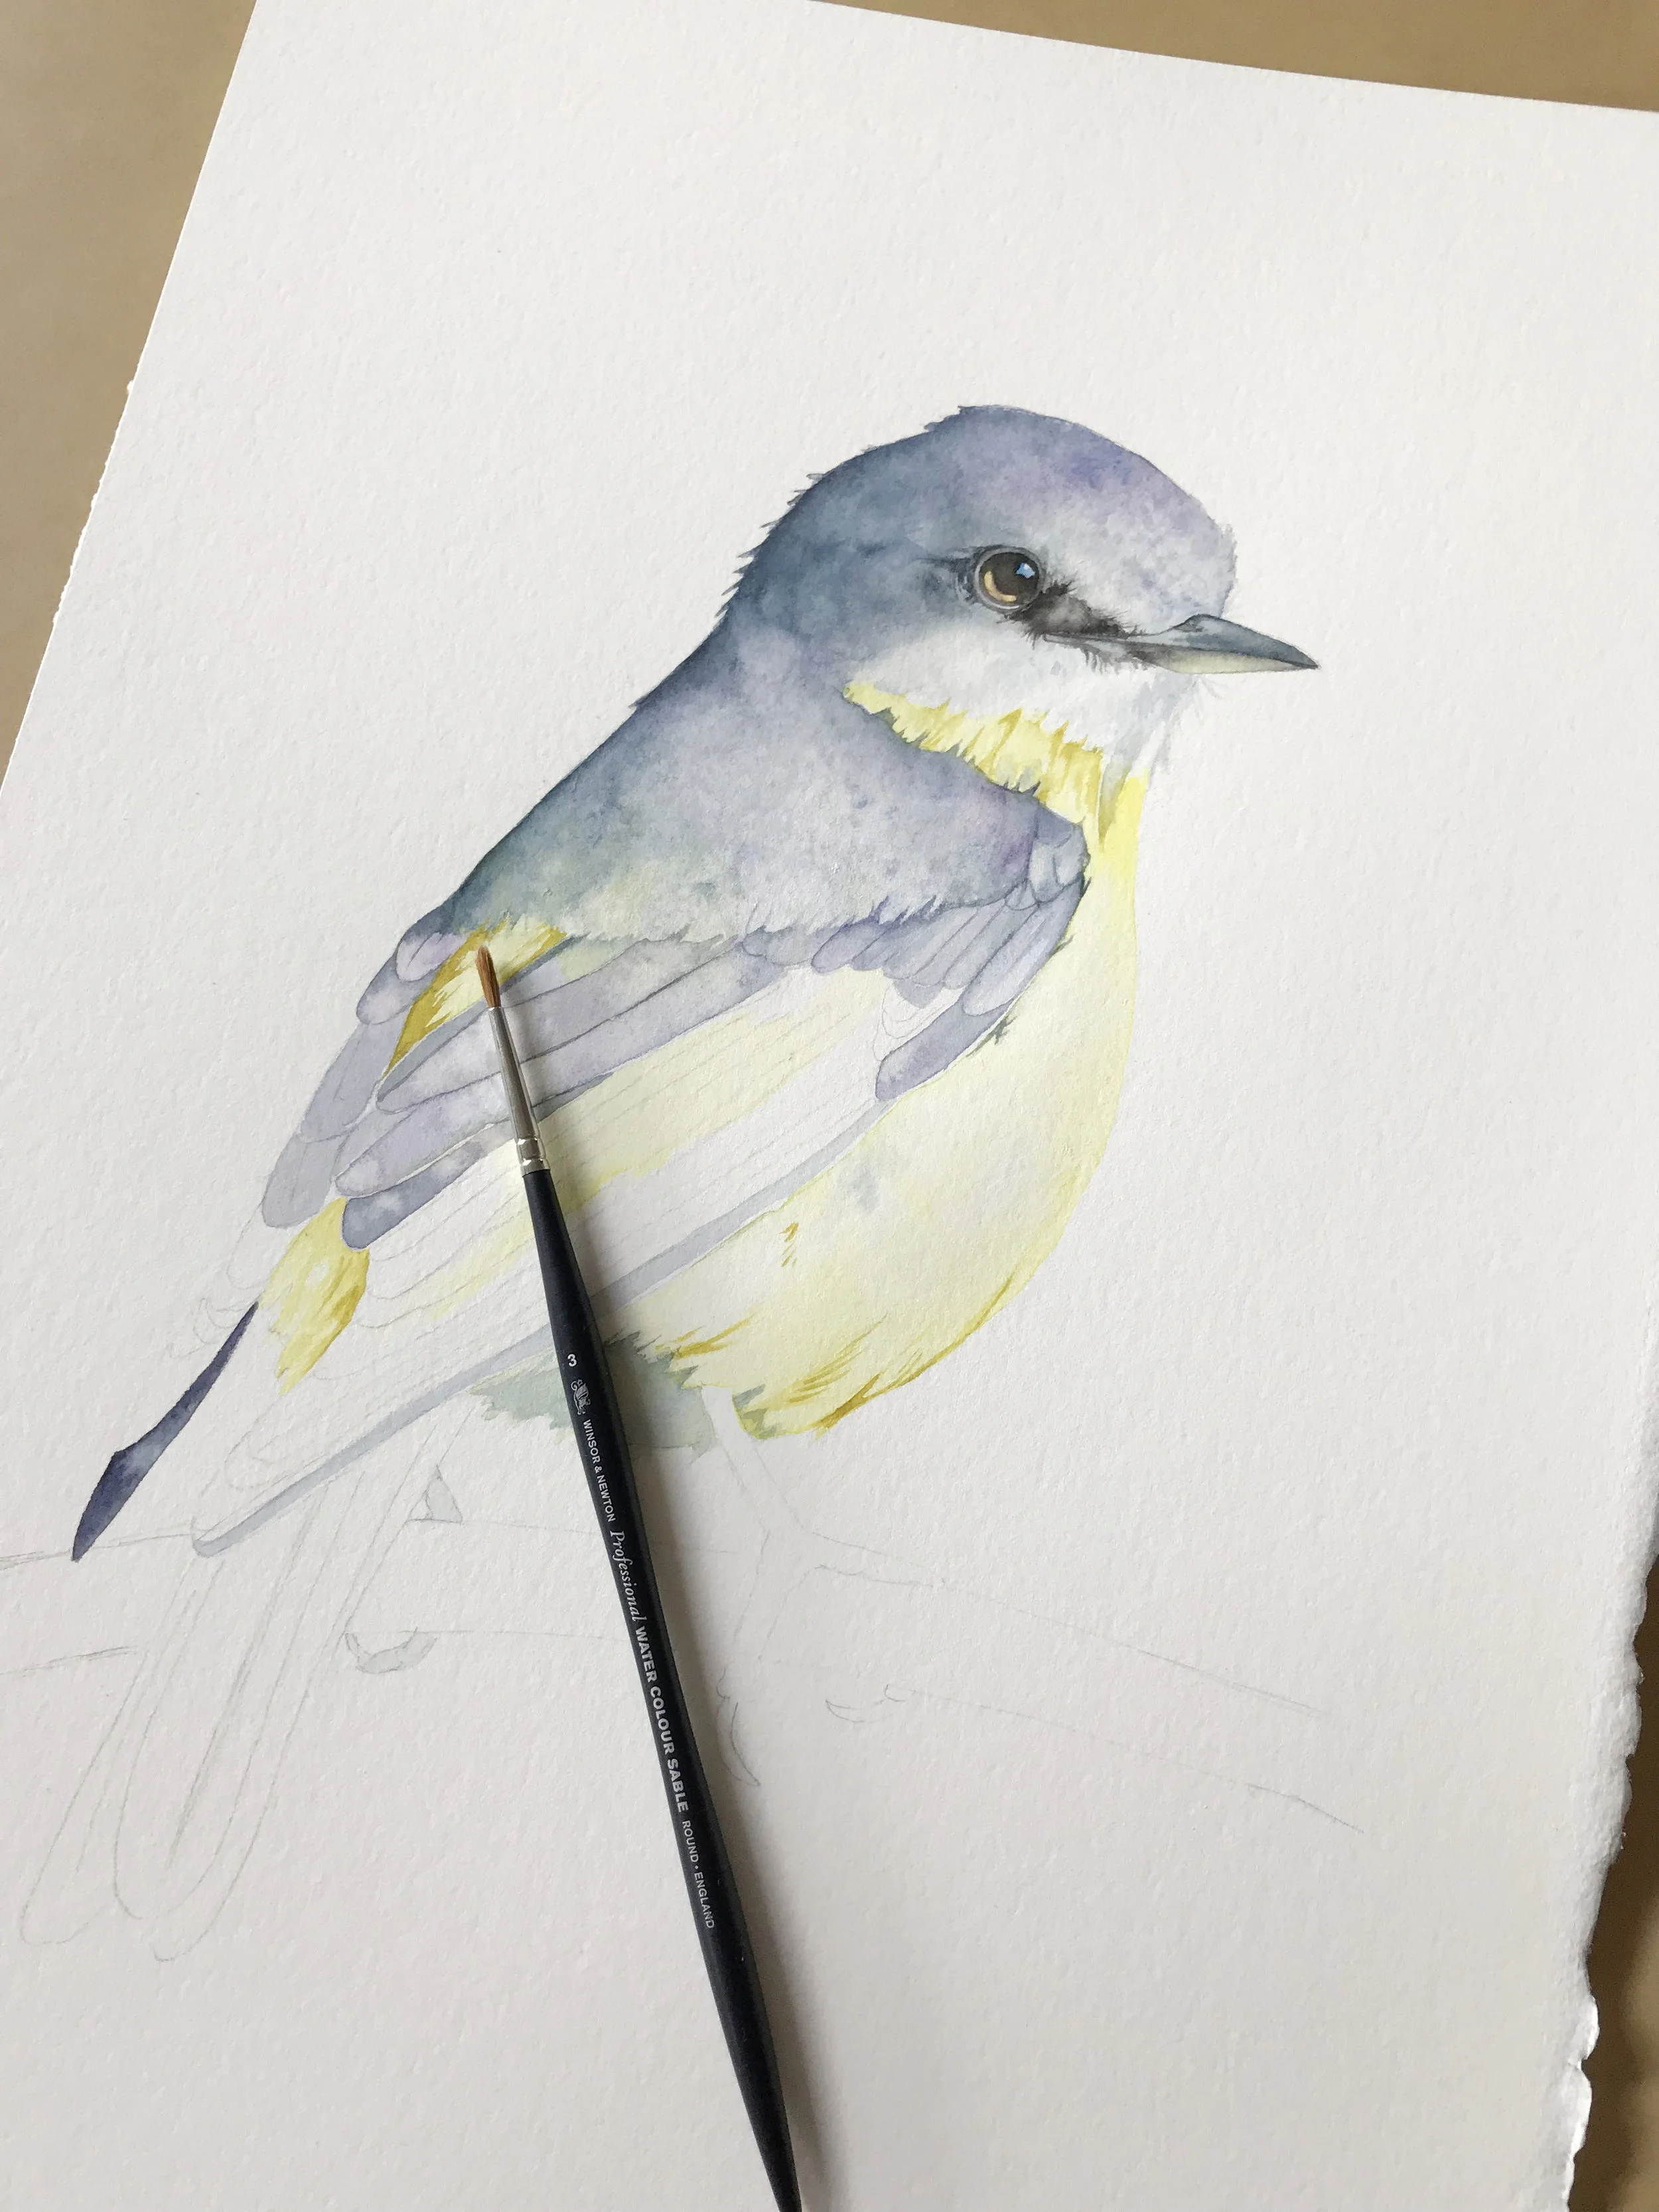
Read MoreIf I had to choose just one brush to take with me to a deserted island (assuming there’s watercolour paper on this island, of course), it would be a round brush. These brushes are the workhorses of watercolour painting, and for good reason. With their tapered shape and pointed tip, they offer an incredible range of mark-making possibilities.
You can create everything from whisper-thin lines to broad, sweeping strokes - all with a single brush! The trick is to adjust the pressure: light pressure for fine details, and heavier pressure for broader strokes. Round brushes are fantastic for general painting, detailed work, and fluid line variation. If you’re just starting out, investing in a high-quality round brush with a fine point will serve you well for years to come. Trust me, this is one brush you don’t want to be without!
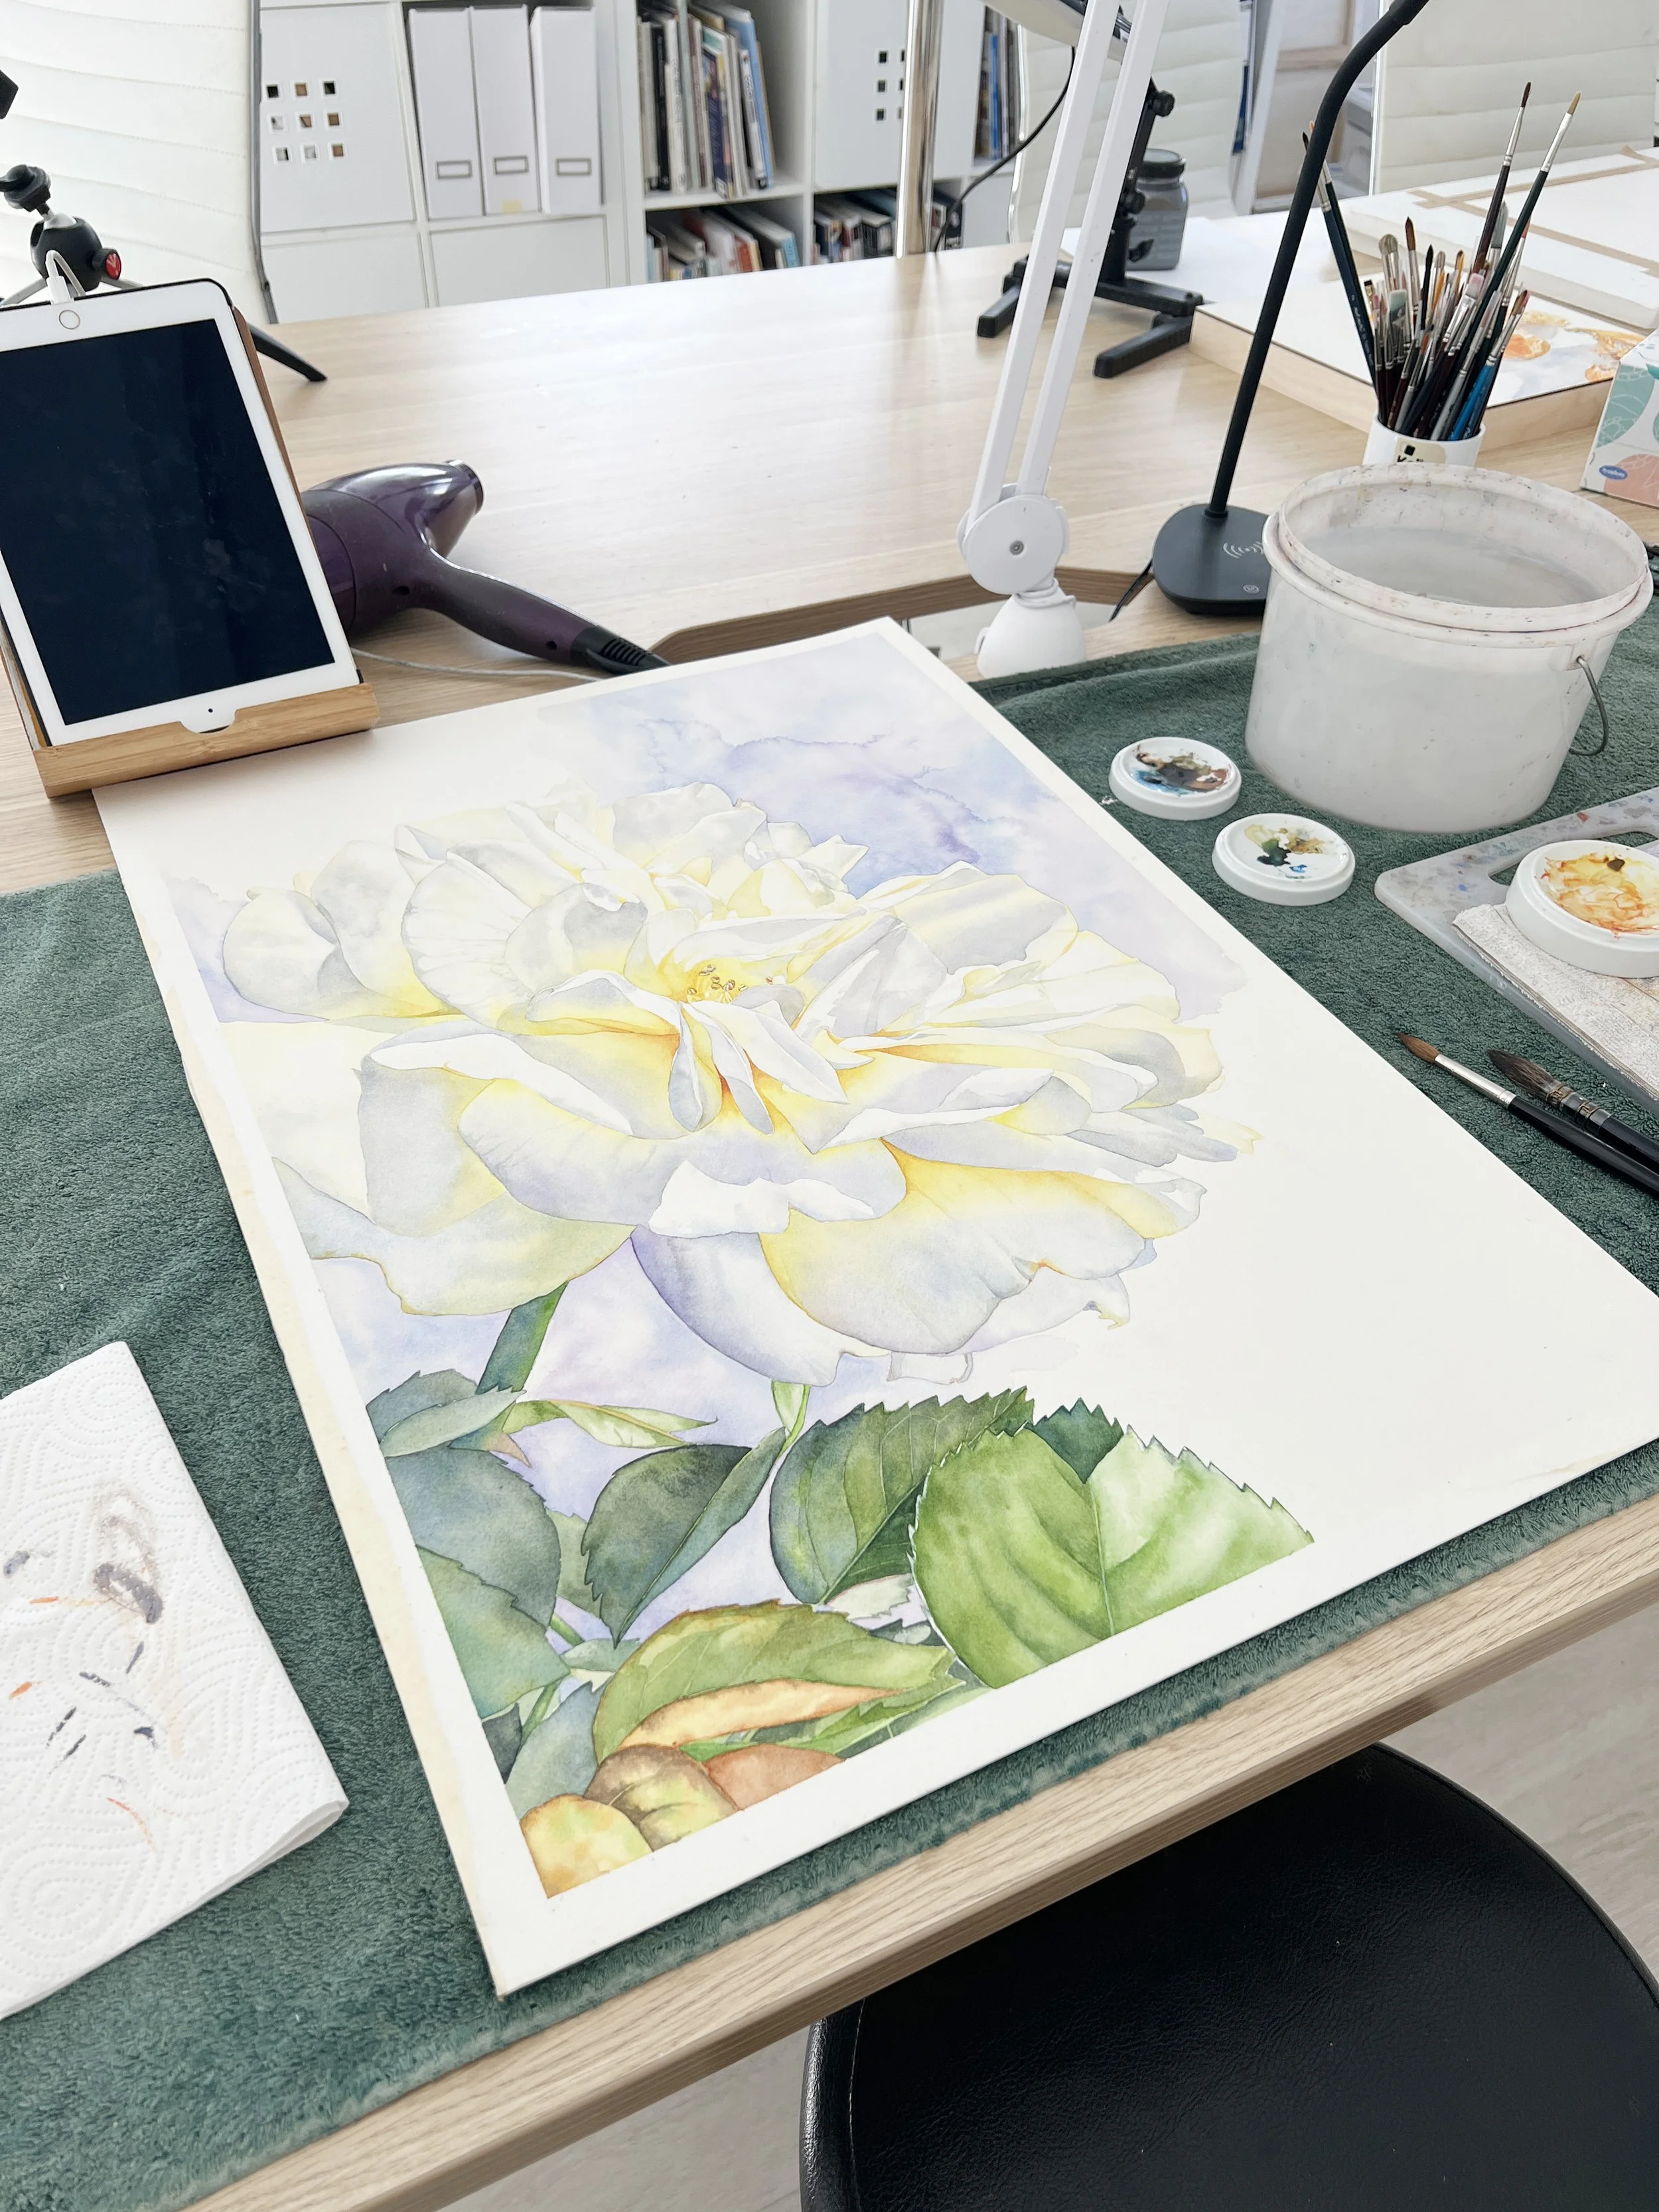
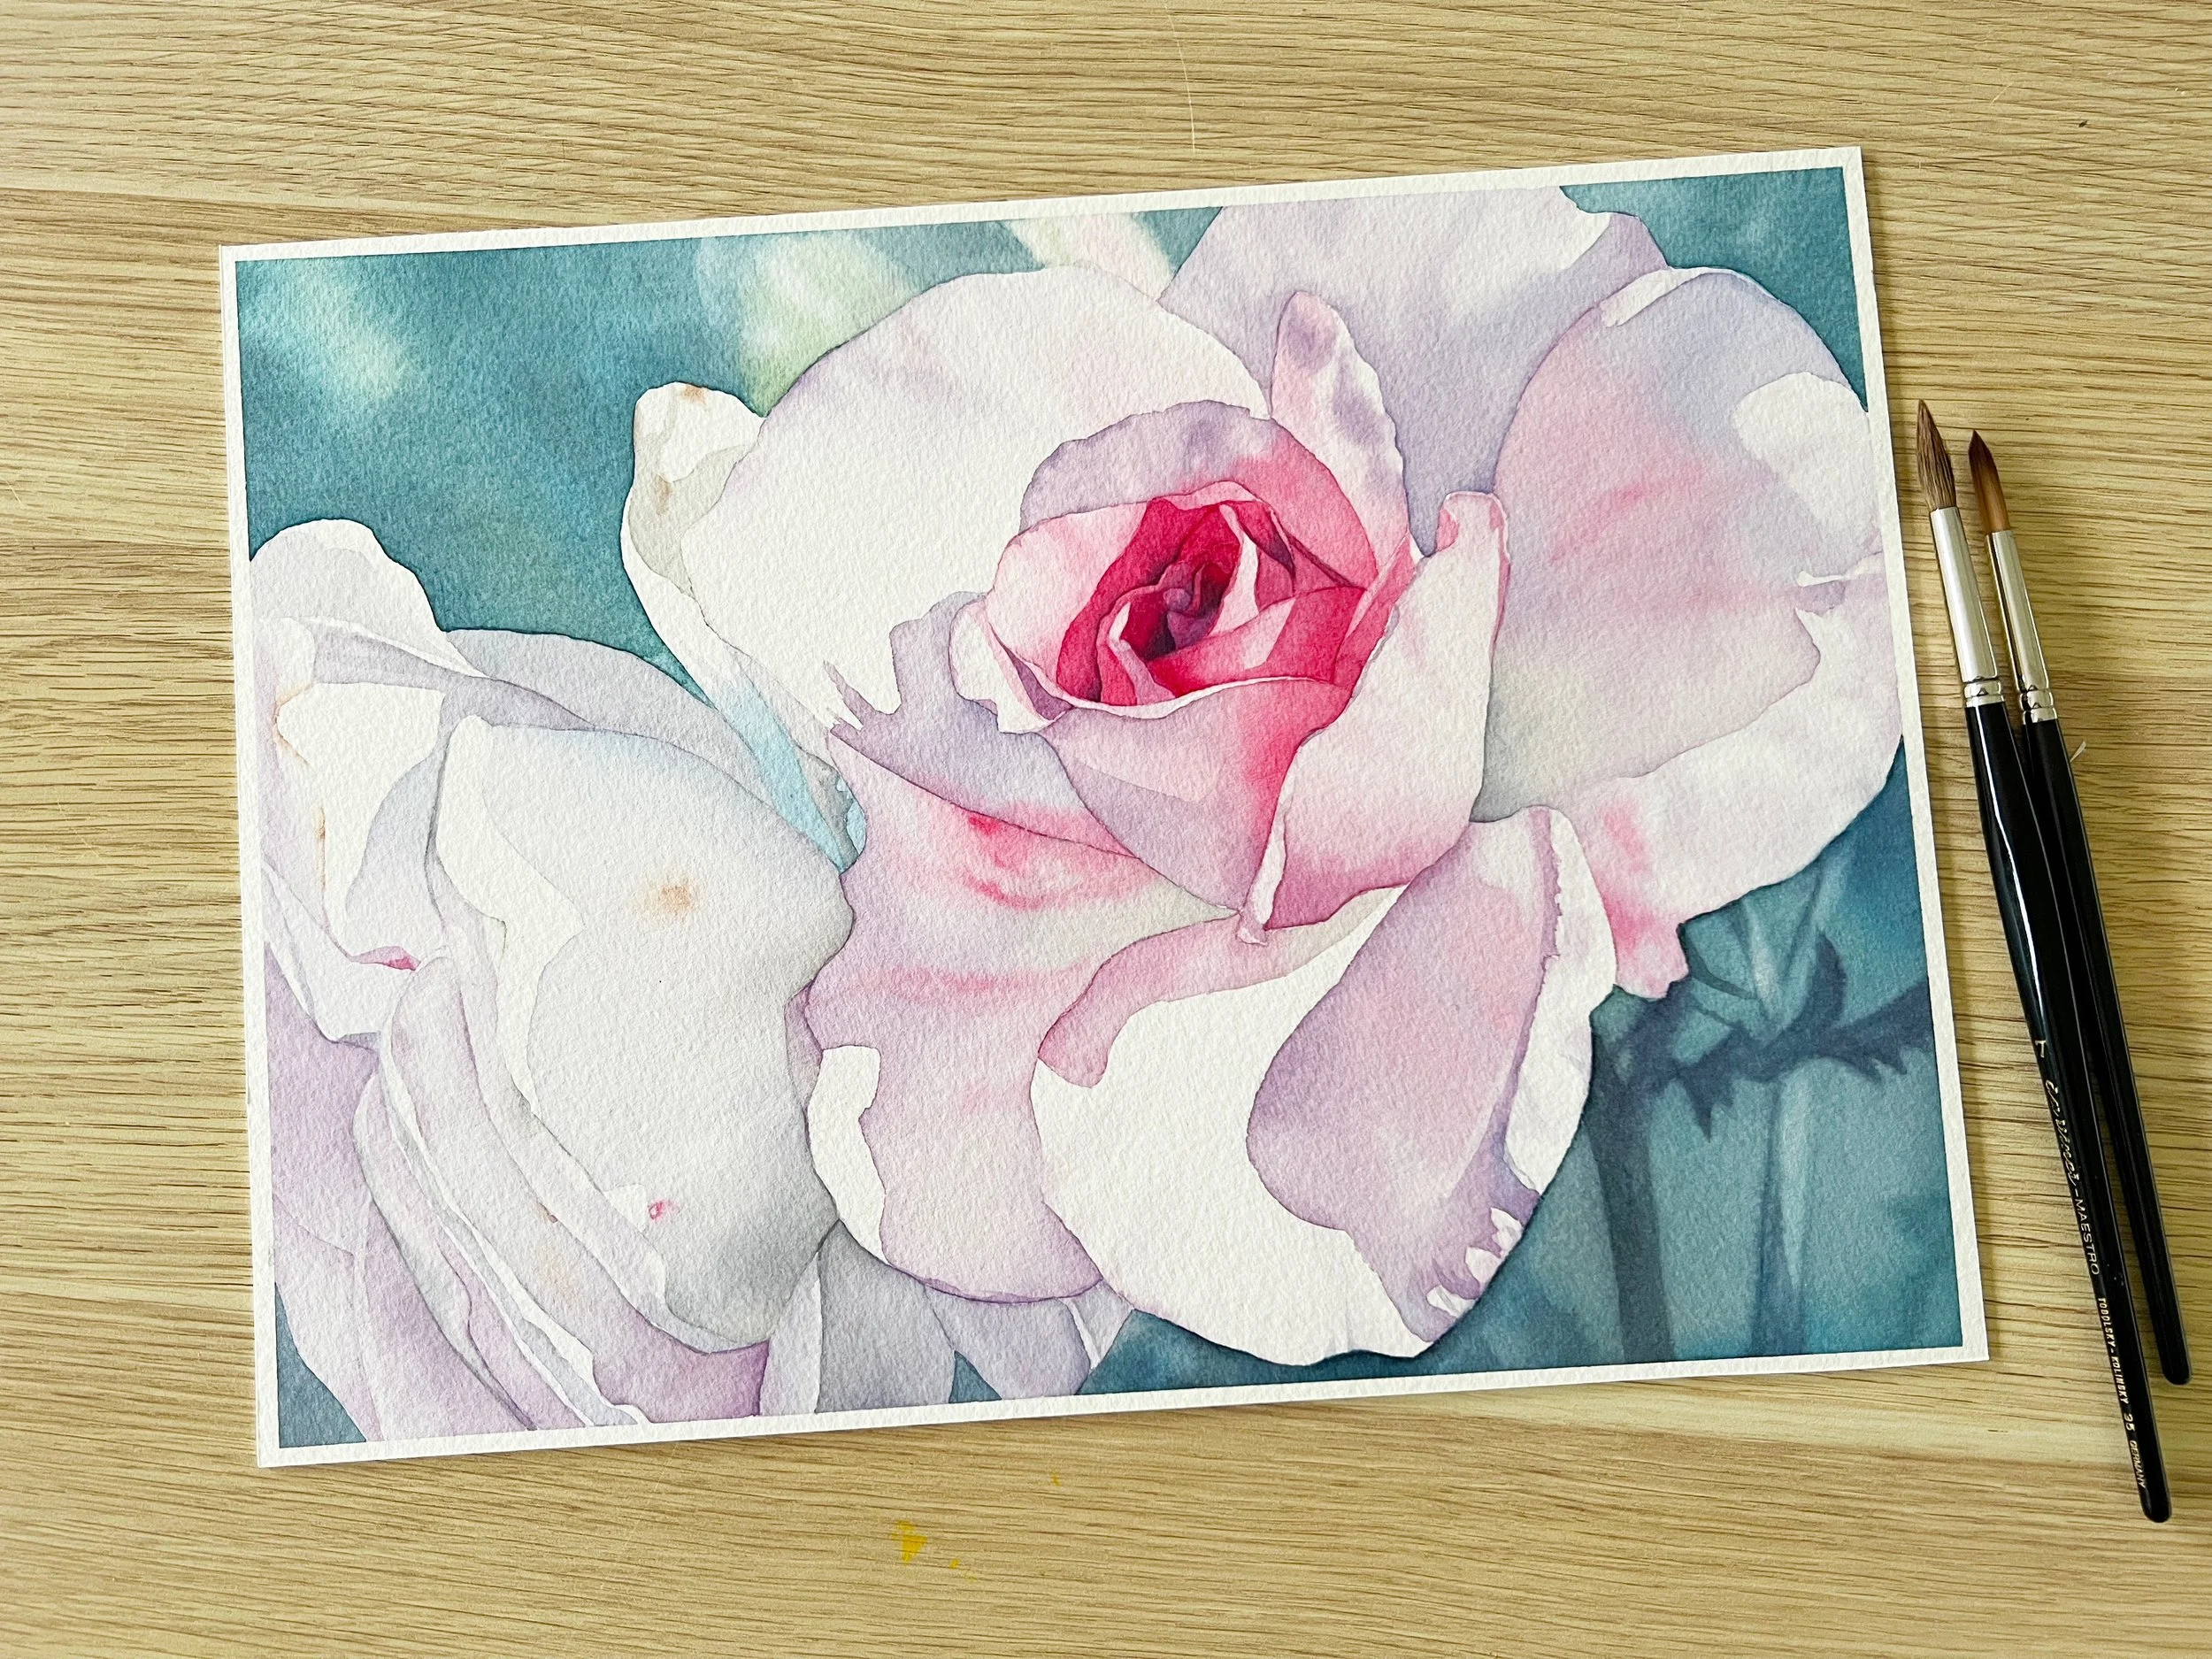
Read MoreI always begin my floral paintings with a wet-on-wet technique for the initial wash, embracing the unpredictability and softness it brings. This stage is about capturing the ephemeral qualities of petals- their delicacy and the gentle interplay of light and shadow. I wet the paper first, allowing the paint to flow freely, blending seamlessly into the damp surface. Sometimes, I paint each petal individually, while other times I apply a wash over the entire flower at once. It depends on the flower and the level of colour or value variation within each petal.
Read MoreI love using watercolour sketchbooks for small studies. They’re perfect for experimenting with colours and working out compositions before committing to a larger painting. These quick studies not only help me refine my ideas but also build my confidence, knowing I’ve tested my approach beforehand. A journal becomes a safe space to explore and make mistakes without pressure.
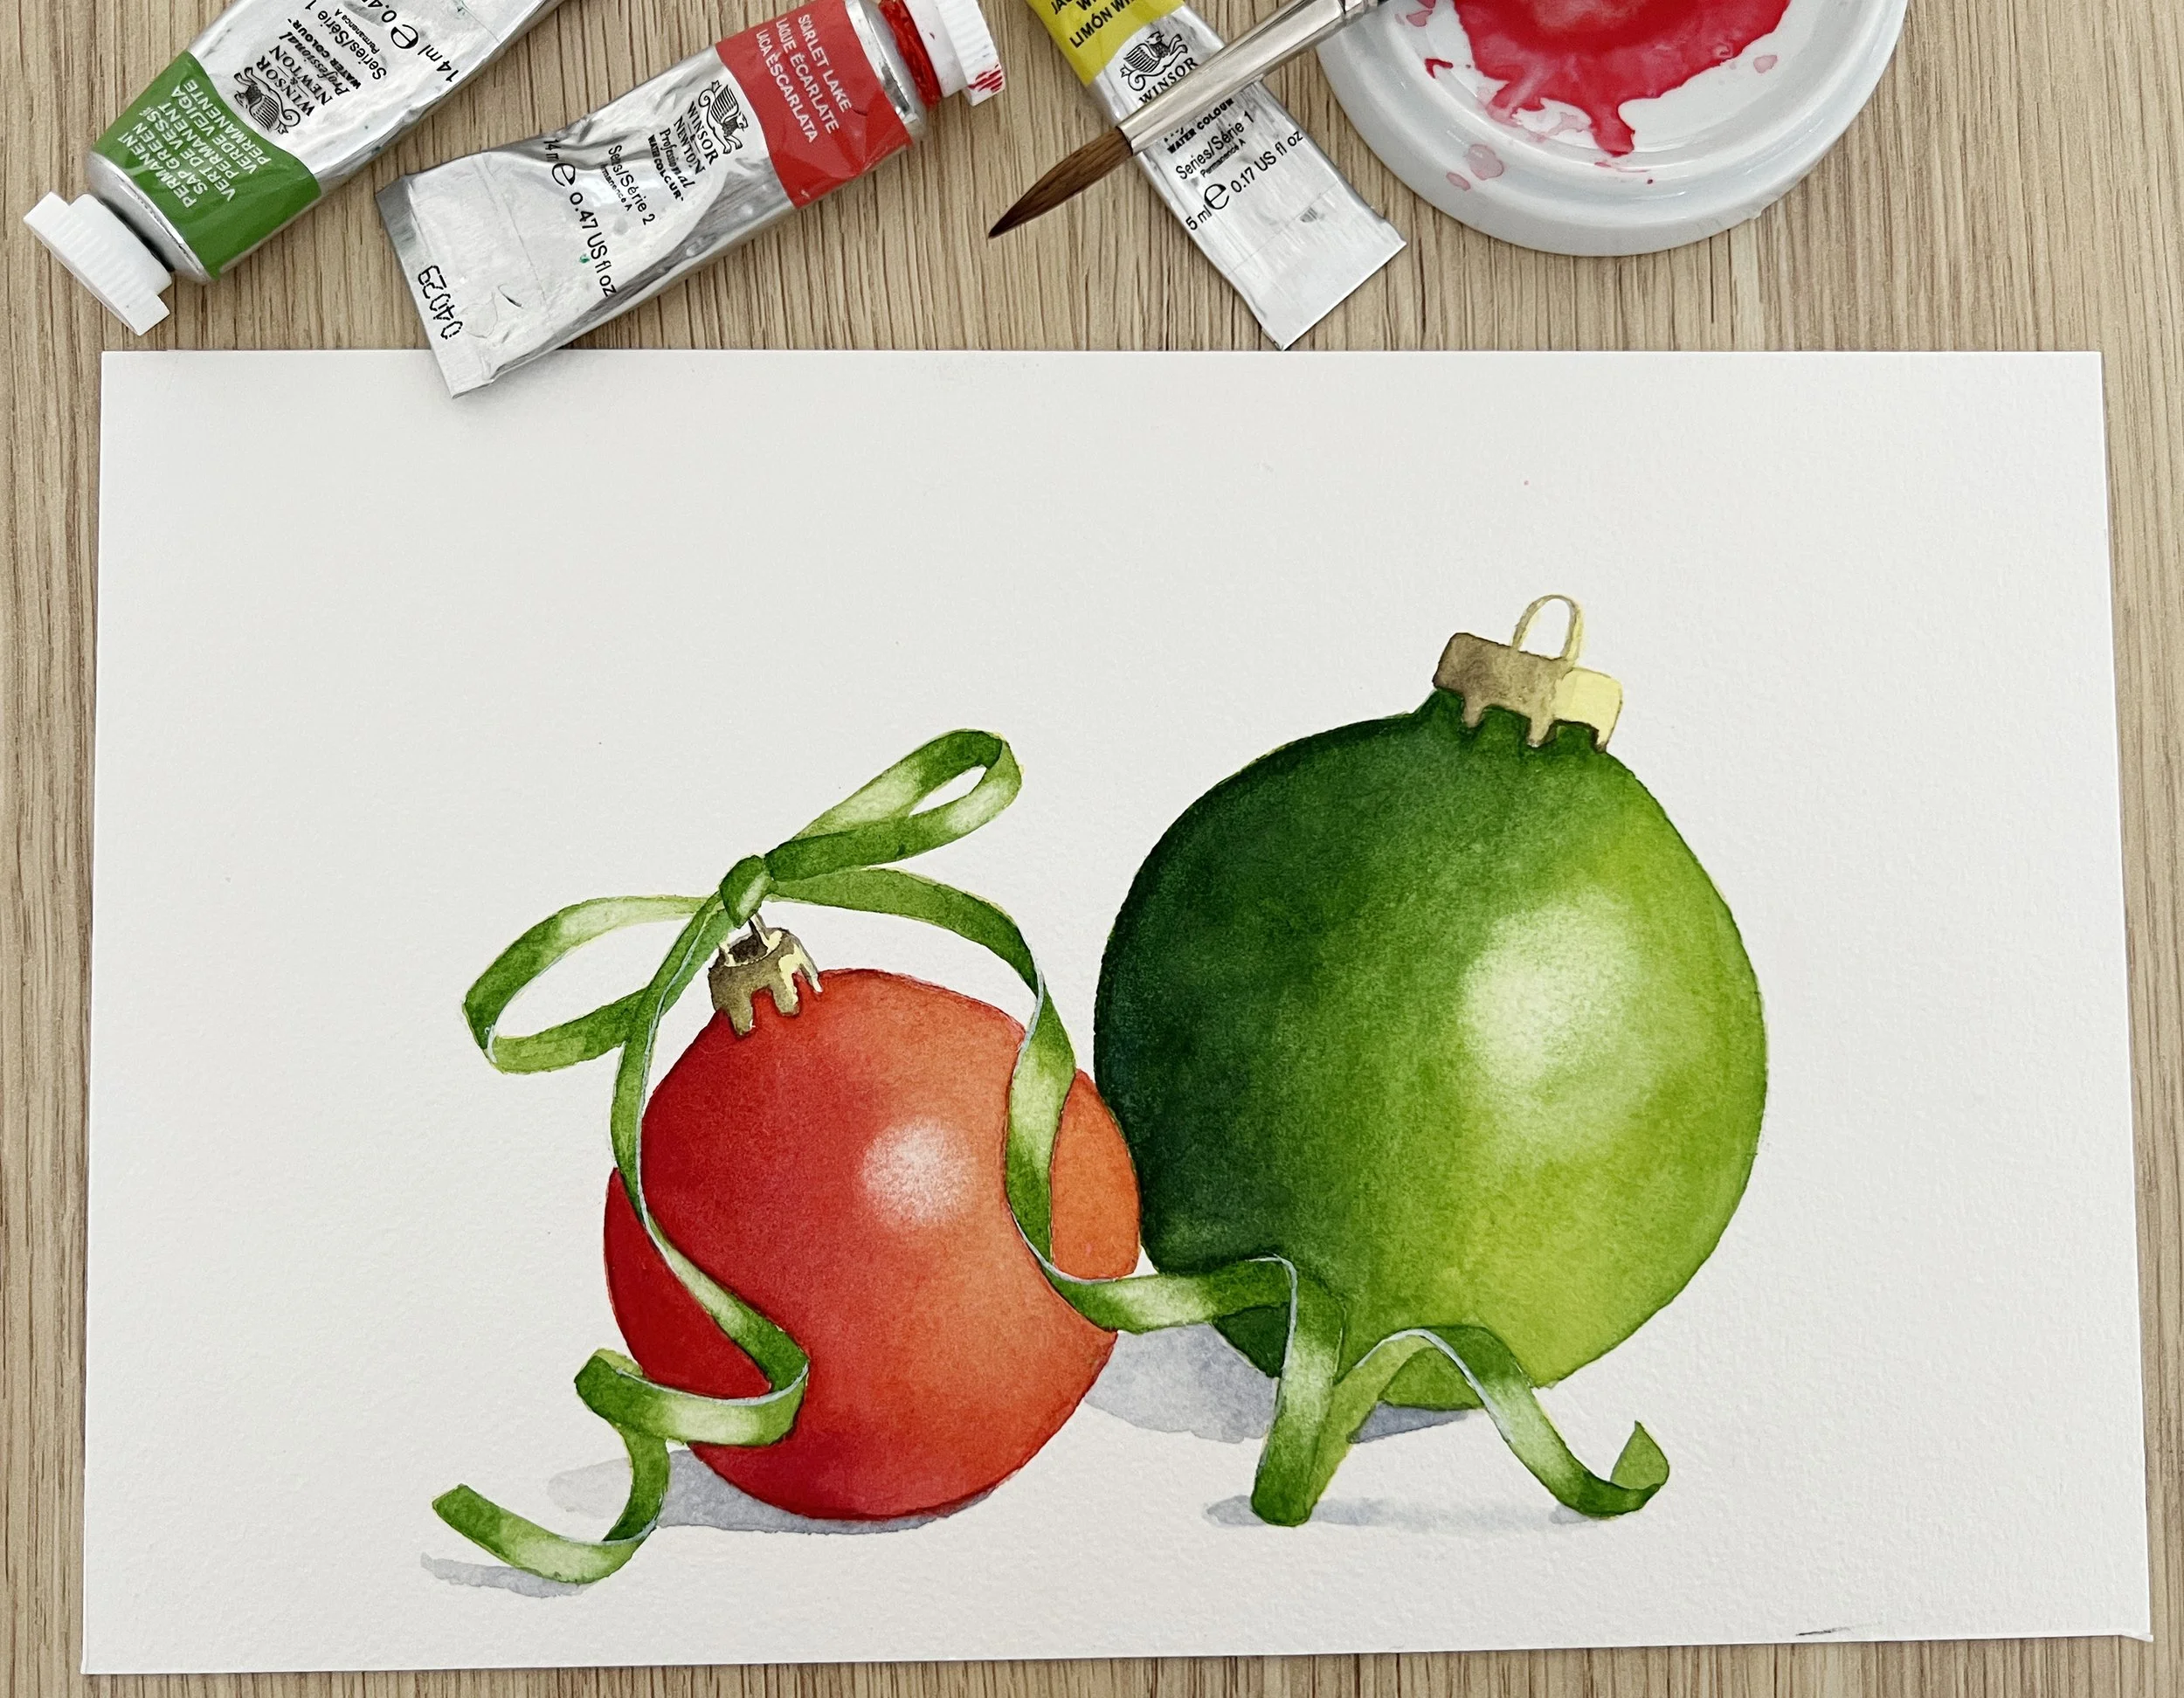
Read MoreWith patience and practice, these baubles can become stunning centrepieces for your holiday cards.
Creating your own watercolour Christmas cards is a joyful way to celebrate the season and share your creativity with loved ones. Whether you paint a single bauble or an entire festive arrangement, your handmade card is sure to bring a smile to anyone who receives it.
Read MoreOne of the great things about line and wash is its versatility, but choosing the right surface is key to letting both your ink lines and watercolour washes come to life. In my experience, a few surfaces work best, each bringing out different qualities in the technique. Opt for white paper to really let the transparency of your watercolour art supplies shine.
Read MoreYou’ve probably heard of the rule of thirds - it’s a common compositional guideline that divides your canvas into a grid of nine equal parts, with two horizontal and two vertical lines. You might’ve noticed this grid when using the camera on your phone. The idea is to place your key elements along these lines or at their intersections to create a more balanced, engaging composition.
Read MoreWatercolour’s transparency is what makes it so beautiful, but it’s also where the challenge lies. If you don’t allow each layer to dry completely before adding the next, you can disturb the underlying colours, causing them to mix in ways you didn’t intend. This can lead to muddy colours in your painting, where the vibrancy of the colours is lost.
Read MoreDifferent types of salt can produce different results. Coarse sea salt, with its larger crystals, tends to create bold, dramatic textures, while table salt results in smaller, more delicate starbursts.
It’s fun experimenting with both to see what kinds of patterns they produce on your watercolour paper.
Read MoreColour mixing is essential for any artist because it offers flexibility, enabling you to achieve unique tones and adjust the vibrancy or mood of your work. Whether you're painting landscapes, portraits, or still lifes, the ability to create custom shades gives you more control over your composition and allows for a greater level of depth and harmony in your artwork. It also teaches you how colours interact, deepening your understanding of pigments and how they behave on paper.
Read MoreWhen you're starting out, it's tempting to buy the cheapest supplies available – after all, you’re just experimenting, right? But here's the thing: quality materials can make all the difference in how your artwork turns out and, more importantly, in how you feel while painting.
Read More